Wish List

Wednesday, November 29, 2017

Wishing you a sweet Christmas...

I am nearly done making Christmas cards, and it's high time I began sharing them all with you! So, here's the first one (actually a batch of 10) that I made:

It's a pretty simple design, but that made it a little easier to make 10 of them fairly quickly.' The snowflake embossing folder is by Darice. It's 5" X 7", and I use it every Christmas! The stitched oval was cut with a die from My Favorite Things. I'm not sure what company produced the stamp for this sentiment, as it was from a set that I had purchased used (no packaging!).


I love this little gingerbread boy. He was cut out with an unbranded die and his "icing" was paper pieced. I actually just made a second cut out of white CS and colored the little bow tie red. Then I added some double-sided tape to the back of my gingerbread boy and pieced it all in.

Before I did that, though, I inked along the edges of this little guy to make him look like he had been nicely browned in the oven.


For the inside of my card, I added a strip of the cardstock I had used on the front. My stamped sentiment is from Crafter's Companion.

Tomorrow we fly away to Arizona to visit some friends there for the weekend. It will be a nice little reprieve from Christmas preparations. These are friends we only see every couple of years, so our visits are very precious. We always have a lot of laughs and greatly enjoy one another's company. Besides that, you can't beat Arizona weather in November. I just checked, and it is 79 degrees Fahrenheit (26 Celsius) where we are going. Perfect!

Thanks so much for stopping by, and remember to laugh--a little or a lot--every day.
Cheryl

Sunday, November 26, 2017

Girly birthday high-tops...

I have a beautiful granddaughter who loves to play basketball. So, I got a high-top sneakers die set especially to make her birthday card, and here it is.


I had this great pink and deep red plaid cardstock, so that was my starting point. I found some deep red glitter paper and thought it would work well as a background for my pink high tops.

The stitched star-burst shape is a My Creative Time die, and the stitched banner for my sentiment was cut with an unbranded die. I was able to color in the first two words of my sentiment to coordinate with the deep red of my glitter paper.


I think my favorite part of these high-tops is the black and white twine that I used as shoe strings. I thought it added such a fun dimension to each shoe.

The little stars that I scattered around my design were from another die set altogether. I could have just used the star that is on the shoe, but I have a die set that cuts out three stars at one time, so I used that.


For the inside of my card, I cut a basketball and hoop using my Cricut and the All Sports cartridge. It had been a long time since I had used my Cricut! Can you see that I used more of the glitter paper for my ball?  My sentiment was computer generated.

I think my granddaughter liked her card. I was lucky enough to be with her on her birthday. She had invited her entire basketball team over for the celebration. They had a lot of fun playing games, eating pizza and opening presents. Girls who are 11 years old can sure be loud, though! They love to giggle, squeal and scream.

Thanks so much for stopping by, and remember to laugh--a little or a lot--every day.
Cheryl

Thursday, November 23, 2017

Happy Thanksgiving and a birthday card for my sister...

If you are celebrating Thanksgiving today, I hope you all had a great time eating a wonderful meal with family and friends.

We had a wonderful time at my daughter's home. It was the first time she and her husband had hosted Thanksgiving. They did a fabulous job of making a delicious meal! I helped out a bit by bringing the pies (cherry, apple, pumpkin and pecan) and a couple of other food items.

It actually felt a little strange not to be up early and getting that big turkey in the oven. But I could definitely get used to it!!

Now, let's talk cards.

My younger sister celebrated her (ahem) 39th?? birthday on November 19, and this is the card I made for her.  I love this leafy, scrolly frame die. It is unbranded, as are the little leaf sprigs, which have been sponged with a little aqua ink. My flower was made with the Memory Box die set called Fancy Blossoms. Its petals were also sponged with some darker pink ink.

I'm sorry I can't remember what stamp set my sentiment is from. I really like this sentiment, though, and use it quite a lot.


Not sure why my cardstock looks so green in this photo when it's actually a nice aqua color. It's probably my lack of photography and lighting skills!


The inside of my card was pretty simple. To add a little interest, I adhered another one of those little leaf sprigs.

I spoke to my sister the evening of her birthday, so I know she had a good day. I hope she also has a fabulous year.

Tomorrow I will be volunteering rather than shopping the "Black Friday" sales. I'm not much of a shopper, so I think I'll enjoy the volunteering a lot more.

Thanks so much for stopping by, and remember to laugh--a little or a lot--every day.
Cheryl

Tuesday, November 21, 2017

A final Thanksgiving card...

This photo is not quite all in focus, but I had to post it anyway, as I couldn't retake it. The card was sent in the mail days ago. I think you can get the idea for my card just the same.

I had only a scrap of this pretty leaf-patterned DSP left, and wanted to use it on a card.


I found some cardstock in the same shade as the background of my DSP. I used this to cut out the leaves with some very old Cuttlebug dies, emboss each one with a different embossing folder and then swipe the raised embossed areas with a white ink pad.


I used the last two little strips of my DSP on the inside of my card, along with a stamped sentiment and flourish.

Today I will be baking pies for Thanksgiving--apple, cherry and pumpkin. I'm not hosting the meal this year, but still trying to help out. I will also be heading to a local Scandinavian store to buy some lefse. It's a Scandinavian potato-based flatbread that we always have during the holidays. I like it rolled up with just a little butter on it, but my kids love butter and sugar, or even butter sprinkled with a sugar/cinnamon mix.

Image result for lefse image

My youngest sister makes her own lefse from scratch. It's a very time-consuming job requiring special equipment, but the fresh stuff is the absolute best!! I sure hope her family appreciates the effort she puts into it.

If you're celebrating Thanksgiving on Thursday, I wish you a wonderful time of family, good food and fun. If not, enjoy the rest of your week anyway.

Thanks so much for stopping by and remember to laugh--a little or a lot--every day.
Cheryl


Wednesday, November 15, 2017

A couple more Thanksgiving cards...

I happened to have just a scrap of this pretty gold leaf patterned CS and wanted to use it on a card. It was only big enough to cover the bottom portion of my card, so I grabbed another scrap of gold textured CS from my never-ending pile of scraps and used that for the top.

I liked the look of the black mat behind the gold and patterned papers, but what to use for a pumpkin? Well, we've all seen those white pumpkins, right? So white it was! I used a small stitched oval die by My Creative Time and cut it out three times. The stem for my pumpkin was cut by hand and my "vine" was made with a Cheery Lynn die.

My little open scallop trim was made with an unbranded die.

To decorate the inside just a bit, I matted my sentiment panel with black and warm brown CS (that matched my patterned scrap perfectly!).  Then I cut out the only remaining intact leaf from the patterned paper and adhered it above my stamped sentiment.

For this card I used a couple of unbranded dies (leafy frame and leafy sprig). To give my open leafy sprig a little personality, I wiped its surface with Versamark ink and then covered it with Perfect Pearls gold powder. To set the powder, I just misted it with a little water.

I added just one "personality plus" leaf to the inside above my computer-generated sentiment.

I managed to finish off 10 more Christmas cards today. I've made about 40 so far, but I've got to at least double that number before I'll have enough.

Thanks so much for stopping by, and remember to laugh--a little or a lot--every day.
Cheryl

Monday, November 13, 2017

We always need extra thank you cards...

I happened to have this pretty die-cut butterfly laying around, and I decided it needed to be put to good use.

To make the butterfly, I had inked up some watercolor paper with Brushos crystals, spritzed them with water and let them mingle with each other and then dry. Once it was perfectly dry, I cut out a few butterflies, using all of them on cards except this one.

To create my patterned background, I cut a piece of peach colored cardstock and then used a stencil and finger dauber to apply a couple different colors of ink. I tried to capture some of the same colors of my butterfly.

My white rectangle was cut with a Spellbinders die, and the sentiment was a freebie that came with a magazine.

Just a few flat-backed gems finished off my card. I actually really liked how it turned out.

Here's one final peek that shows how pretty the butterfly is when its wings are lifted up a bit. I always wonder if those who receive cards like this ever think to do that...because you know they get flattened in the mail!

I am busy now making Christmas cards, trying to make 10 of each design that I come up with. I will be sharing them with you in the days ahead.

Thanks so much for stopping by, and remember to laugh--a little or a lot--every day.
Cheryl

Friday, November 10, 2017

Diorama Christmas card...

If you follow my blog, you may remember that I posted the instructions for making a diorama Halloween card here. Well, using those same instructions, I made a couple of Christmas cards. They're both the same, so I'll only share one of them here.

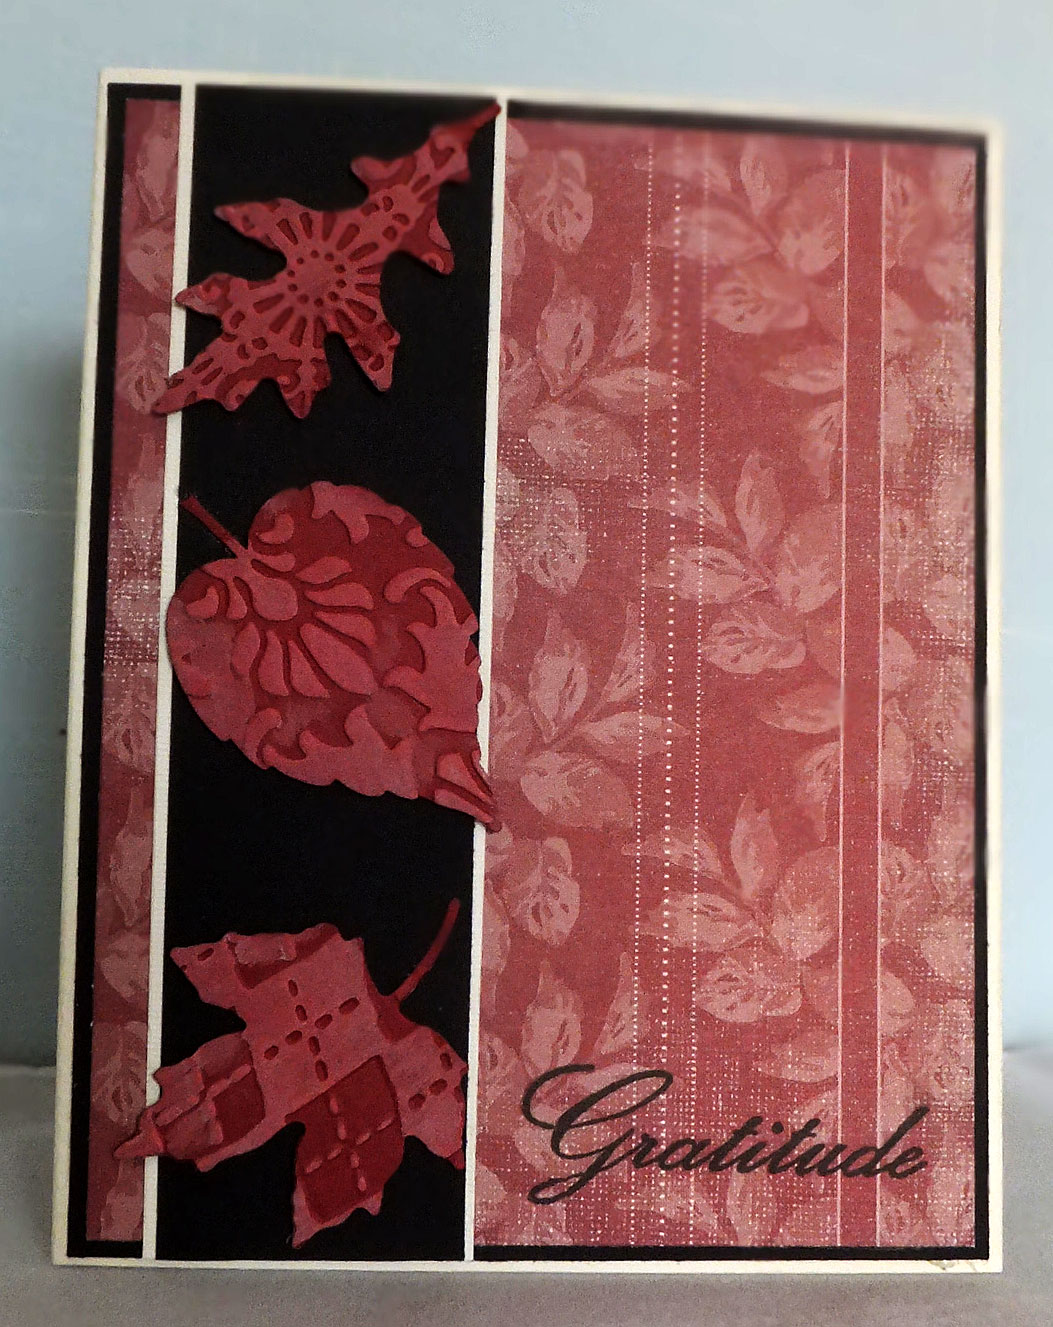
The front is pretty simple. A Penny Black sentiment stamped on a stitched oval die-cut.

I used my Cheery Lynn holly die to cut three holly leaves and another unbranded die to cut a couple of fir tree twiglets (not sure that's a word, but I like the sound of it).

The berries are three red half pearls, and my sparkly strips across the bottom are simply off-cuts from some glitter paper.

The inside is where the fun begins. I used a couple of stitched oval dies to make my aperture and my glittery frame.  My little bird ornament stamp (isn't it cute?) was heat embossed with dark blue EP and a little silver EP for the eye hook and string. Then I colored in the red and light blue with ProMarkers.

This cute ornament stamp came from a set of seven clear stamps by Lyn Dillin/Inkadinkadoo. I picked it up at a Marshall's discount store for $1.99, and it's been worth every penny and then some!

The Christmas tree bough was cut with the same die that I used on the front for my fir tree twiglets. I also added a little light blue chalk to the background so that it wasn't so stark and offered some contrast to the white frame.

My Merry Christmas banner was heat embossed using a stamp from another set (not sure which one) that happened to have a little bird on it. Perfect for this card!

As you can see, because my cardstock is pretty dark, I added a white rectangle at the bottom for a brief note and/or signature.

This photo shows the dimension and diorama affect when you open the card. it can still be opened all the way to lay it flat for signing.

I just love these cards, and I plan to make a few more for my Christmas stash.

It is freeeeeeezing here today. It was only 8 degrees (-13 Celsius) this morning. I don't even want to go outside today, but I've got to run some errands so I'll just have to bundle up and grin and bear it.

One of two trees in our front yard decided not to drop hardly any leaves until AFTER I had raked the entire yard. That night (our first night with temps in the low double digits) I think the shock of the cold caused it to drop them ALL! I couldn't believe it! I looked out the front window in the morning to see my once clean lawn completely covered with frozen still-green leaves. And the tree branches were completely bare. They may just have to lay there until spring if it doesn't warm up enough for me to rake again.

Thanks so much for stopping by, and remember to laugh--a little or a lot--every day.
Cheryl

Sunday, November 5, 2017

Let's Craft and Create Challenge #131: Anything Goes with option of Fall Colors/Thankful...


Our latest challenge at Let's Craft and Create is just in time to inspire all of you who make Fall or Thanksgiving cards. But we don't want to exclude anyone, so we always have an overriding theme of "Anything Goes."

As a member of the Design Team, I chose to get started on my Thanksgiving cards in creating some inspiration for you. As I said in my last post, I don't make too many--just enough for family members. But I have a pretty big family, so I usually make around 20 of them. That means I keep them pretty simple, as there are so many other things going on at this time of year.

For this card I die-cut a four-part frame out of black cardstock. This frame die is unbranded, but my leaves were cut using some very old Cuttlebug dies. I love the size of these leaf dies and use them often. They were cut out of some multi-shaded (mostly reds and oranges) cardstock.

After cutting my leaves, I inked the edges, drew in some veins with a brown colored pencil and then liberally added some Wink of Stella. They're actually much prettier IRL!

I used my frame die to cut the longer space out of white cardstock, which I stamped with an old Thanksgiving stamp I've had forever. I may have purchased it used or from the dollar bin at Michael's. Three pretty sequins finished the front of my card.

On the inside of my card I added a computer-generated sentiment and a small leaf, made with a Martha Stewart punch and glamorized (he he) the same way as the leaves on the front.

Now it's your turn to join in on the fun at Let's Craft and Create. We'd LOVE to see your creation, whether it fits in the Fall Colors/Thankful category or Anything Goes.

To make this even more fun, there will be a prize for the winner. You can check out last month's fantastic prize here.

Thanks so much for stopping by, and remember to laugh--a little or a lot--every day.
Cheryl

Thursday, November 2, 2017

Getting started on my Thanksgiving cards...


I have been working on Thanksgiving cards for my family members. I don't make too many of them - just a few for the relatives to let them know we're thinking of them on America's day of thanks.

I had these feather dies (unbranded) and wanted to use them, so I made a few different versions of this card. I'll just show you two of them here, as the differences are pretty minor.


I enjoyed cutting the feathers from different colors of cardstock. I think this card could actually be used for several different occasions since the design isn't specific to any holiday.

But what could I put on the inside that would tie it all together? I decided to write my own sentiment, and here it is:


As you can see, I stamped a feather behind my text by first stamping off and then stamping again, without re-inking, onto my card.

If you're looking for a unique sentiment to use with your own feather dies or stamps, please feel free to use this one.  I'm always happy to share anything that I write myself.

Well, I finally cracked the "C" plate for my Cuttlebug right in half! Actually, it broke into pieces that are approximately 1/3 and 2/3 of the plate. I checked at my local Michael's store to see if they had any in stock, and they don't even carry the machine, much less the accessories for it!! I may just have to order one online. If you know where I can get a good price, please let me know. In the meantime, I'll be doing my best to die-cut and dry-emboss with a broken "C" plate.

Thanks so much for stopping by, and remember to laugh--a little or a lot--every day.
Cheryl